Citadel Full Installation – Single Drive License (Software Only)
Citadel K Series PBA Software - Full Installation Download
Download: DIGISTOR Citadel Full 1.2.2.19 Aug2023.zip (367.1 MB)MD5: dcf3c1bbffbd8e986172b0a03b2eba1e
Sha256: b8b7ce879842b433992b3e896ab02f9716218b037522207b6f498bf7495a8739
Manual: Citadel_Software_Only_Manual_A9-4400-01-5_Rev1.2.pdf (8.6 MB)
MD5: 1f9db13608849a1bf8d194c82587abc8
Sha256: e31e4ad21b5ee0ed4527ed5b8ac9c737785852a1e516950ab4c2a0a7c6a2c716
Need instructions for a different version of Citadel? Click here.
Create a Bootable USB Thumb Drive
1. Download the PBA software from the link above and save it to a place on your computer.
2. Insert a USB thumb drive into your computer.
3. Format a USB thumb drive to the FAT32 file system.
 Caution
Be sure you backup any files on the drive because they will be erased!
ImportantEnsure that no other partitions or files exist on the thumb drive! If you have multiple partitions on the thumb drive, you may have to use other tools to delete them such as “Disk Management” which is built into Windows.
4. Open the ZIP file you downloaded from the link above and extract the folder inside to your computer’s desktop.
5. Navigate into the folder you extracted and copy the contents to the thumb drive, including all of the individual files as well as the “EFI” folder.
ImportantDo not copy the folder itself over to the thumb drive. Your system will be unable to boot from it if you do.
You now have a bootable thumb drive. If you require more help, please contact Technical Support. See the Product Support section at the bottom of this page.
Configure UEFI/BIOS Settings
You will need to properly configure your BIOS or UEFI in order to properly boot from the thumb drive. To do so, follow the instruction set below that’s applicable to your situation. Specific instructions have been provided for Dell computers, as well as a generic instruction set for all other computers.
For All Computers
Follow these steps to ensure your computer’s BIOS or UEFI settings are configured correctly. To access the BIOS or UEFI, you may have to press Delete, Escape, F2, or F12 when starting your computer up.
NoteIf you have an HP EliteBook laptop, first follow the instructions here before continuing.
1. If you have an option for “UEFI Boot Path Security” or something like it, be sure to change it to Never.
2. If you have an option to allow OPAL hard drive SID authentication, be sure to enable it.
3. Ensure that your “SATA Operation” is set to AHCI.
4. If you have a system that supports CPUs with high core counts, such as a server, the UEFI will likely have an option for “X2Apic Mode” in its processor settings section. Set “X2Apic Mode” to Disabled.
5. If you have a discrete video card, ensure your primary display detection is set to Auto.
6. Disable “Secure Boot”.
NoteThe Citadel SSD does support Secure Boot, but only once activated. You may reenable Secure Boot after you finish activating the Citadel SSD
For Dell Computers
Follow these steps to ensure your Dell computer’s UEFI settings are configured correctly. To access the UEFI, you may have to press F2 or F12 when starting your computer up.
1. Navigate to “General > UEFI Boot Path Security” and change it to Never.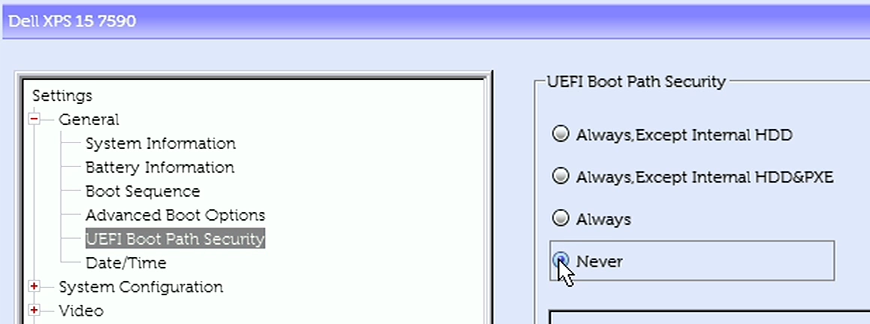
2. If you have an option to allow OPAL hard drive SID authentication, be sure to enable it.
3. Navigate to “System Configuration > SATA Operation” and change it to AHCI. 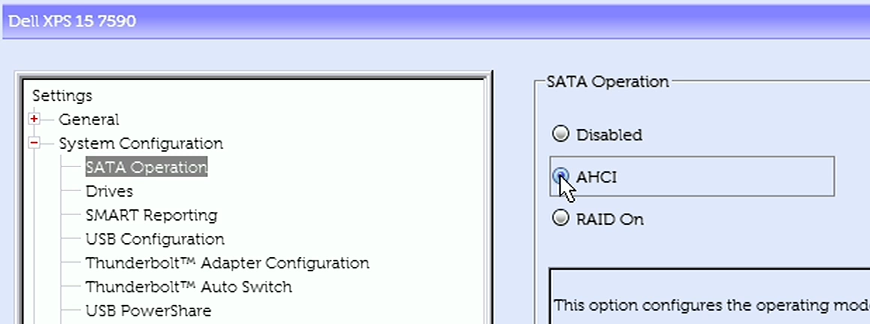
4. If you have a system that supports CPUs with high core counts, such as a server, the UEFI will likely have an option for X2Apic Mode in its processor settings section. Set “X2Apic Mode” to Disabled.
5. If your Dell computer has an upgraded video card, navigate to “Video > Primary Display” and ensure it is set to Auto. Otherwise, this option will not be available and you can continue onto the next step. 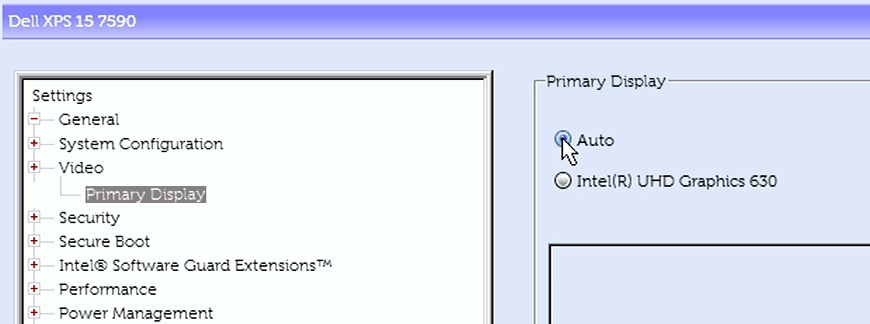
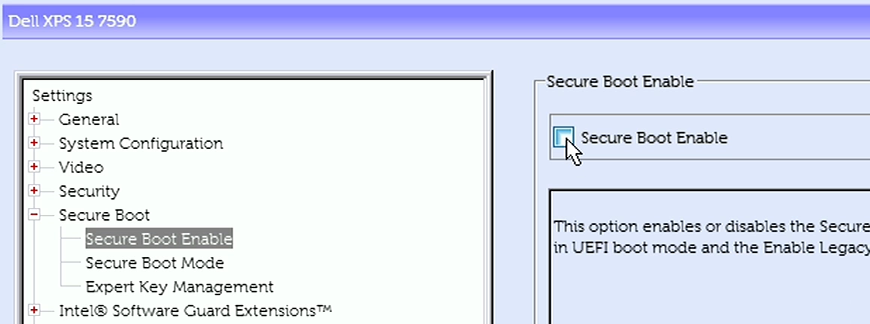
6. Navigate to “Secure Boot > Secure Boot Enable” and uncheck the box next to the “Secure Boot” option to disable it. A dialog box may pop up warning you that disabling Secure Boot will reduce system security. Click Yes to disable it.
NoteThe Citadel SSD does support Secure Boot, but only once activated. You may reenable Secure Boot after you finish activating the Citadel SSD
Install an Operating System or Virtual Environment
Install any operating system (OS) or virtual machine (VM) at this time.
 Important
If you need to turn on a Trusted Platform Module (TPM), Virtualization Support, or Trusted Execution, you can turn them on in the UEFI.
How to Boot into the Thumb Drive
1. Insert the bootable USB drive you created in the steps above into the computer and turn it on.
2. Continually press the key for accessing your motherboard’s boot menu while the computer starts up.
This key to access it differs on different models, but the most common keys are F12, F10, F2, or Esc.
3. The motherboard’s boot menu will appear. Choose the USB thumb drive from the list of boot options.
4. A Linux BASH prompt will load. Press Enter to activate the console.
Install the PBA Software
1. Boot into the thumb drive using the steps above.
2. Type in the command below that applies to the type of Citadel SSD you have. Please note that the following text is case sensitive.
Warning
- M.2 NVMe SSD:
CipherDriveInstaller -d /dev/nvme0 -p <password> - SATA 2.5-inch or M.2 SATA SSD:
CipherDriveInstaller -d /dev/sda -p <password>
Note<password> is the Administrator password. The default Administrator password is Administrator, and it is case-sensitive
ImportantIf you are using the default Administrator password, you should change it as soon as possible by logging into the Citadel SSD Settings Console.
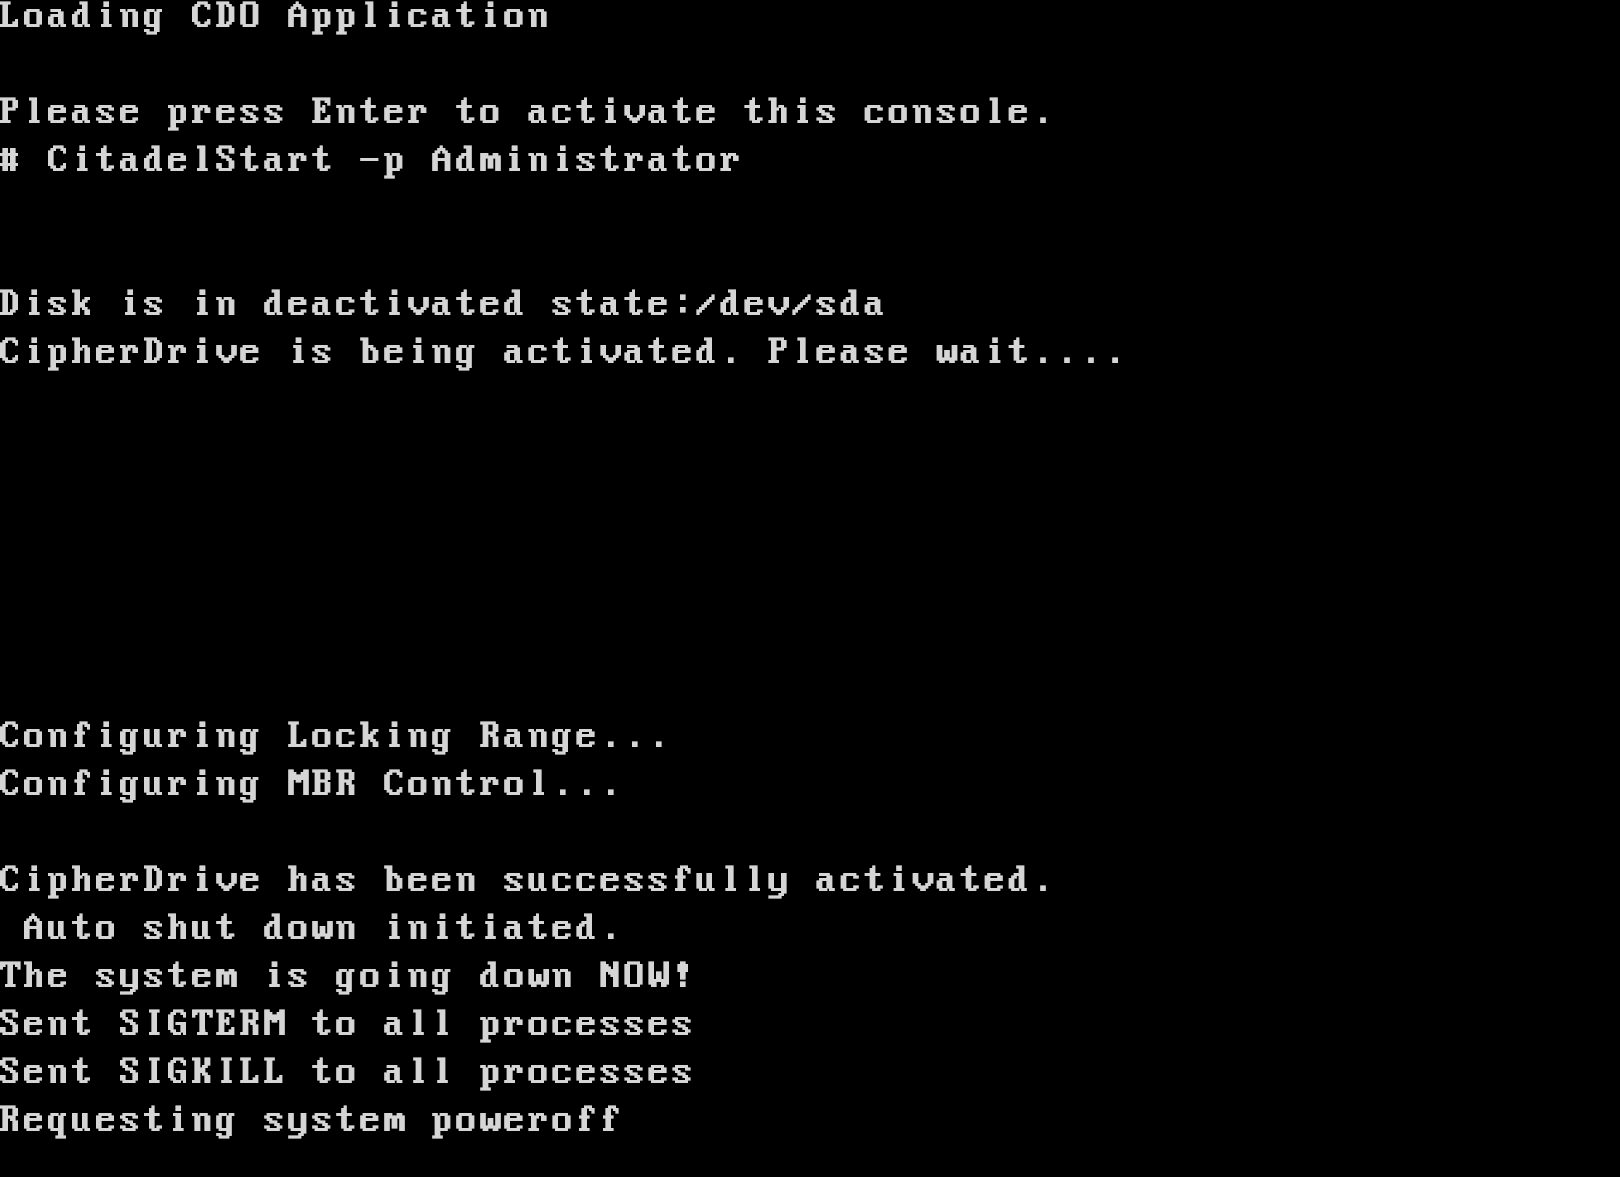
3. The software will activate the pre-boot authorization and will automatically shut down the computer when finished. Remove the USB thumb drive and reboot the system.
The PBA software has been installed!
First Time Login
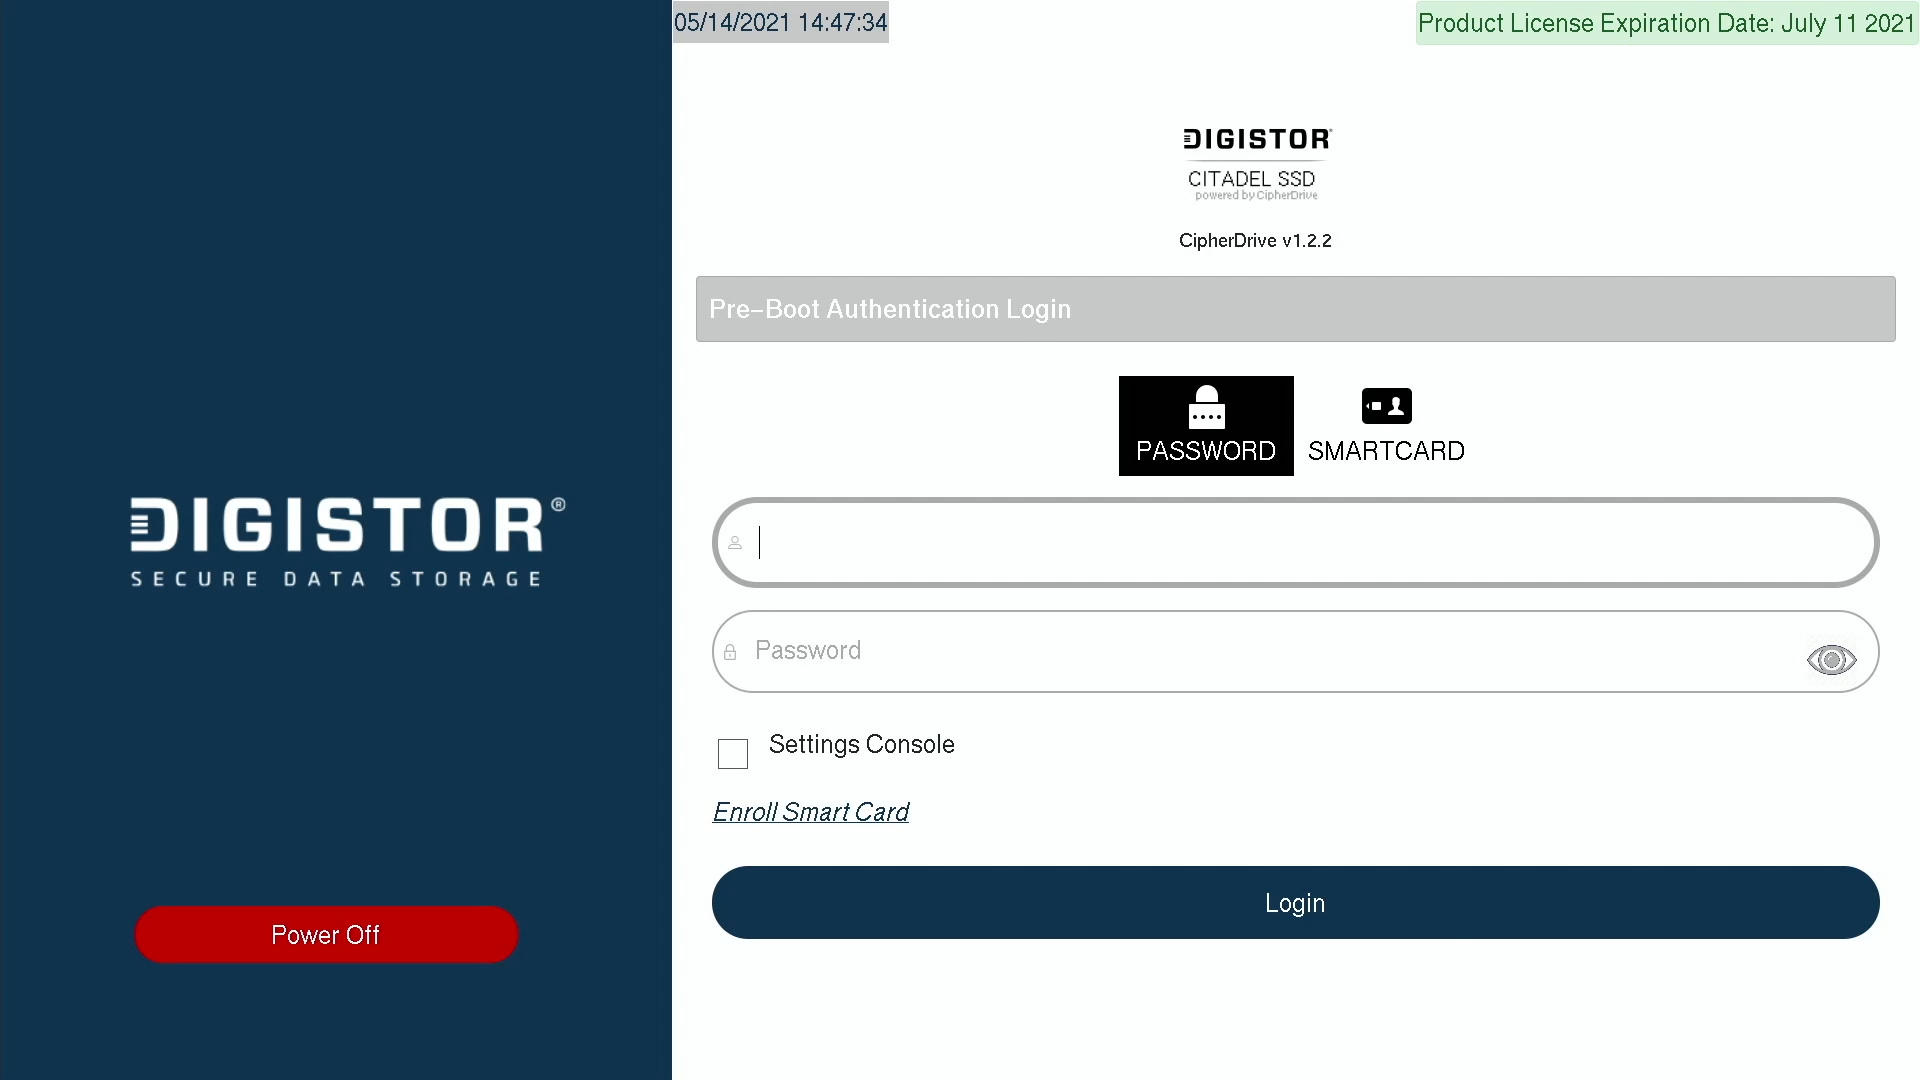
ImportantBefore attempting to log in, make sure you have first activated your Citadel SSD
1. If you haven’t already, turn on the computer. The Citadel SSD software will load.
2. Click the Accept button at the bottom of the Disclaimer screen that appears.
3. Log into the default Administrator account. Use the following credentials, which are case sensitive:
- Username: Administrator
- Password: Administrator
NoteUsernames and passwords are case sensitive.
The computer will appear to reboot and your OS or VM will now start up.
NoteYou should immediately change the Administrator password to maintain operational security. Please refer to the Citadel SSD User Manual located at the top of this page for information on how to operate and manage your SSD’s pre-boot authentication.
Upgrade to a Permanent License
The PBA Software you downloaded and installed comes with a temporary evaluation license. When the evaluation license expires, you will still be able to log in but you won’t be able to use the Management Console, which is how you change settings and edit or add users.
Follow the instructions in this section to upgrade your license to a permanent one that’s keyed to your system configuration.
Collect System Information
1. Ensure that the computer is turned off.
2. Insert the bootable USB drive you created in the steps above into the computer and turn it on.
3. Continually press the key for accessing your motherboard’s boot menu while the computer starts up.
The key to access it differs on different models, but the most common keys are F2, F10, F12, or Esc.
4. The motherboard’s boot menu will appear. Choose the USB thumb drive from the list of boot options.
5. A Linux BASH prompt will load. Press Enter to activate the console.
6. Type cdokey and press Enter. Your system information will be collected and saved to the thumb drive as “CDO_Key.txt”.
7. Send “CDO_Key.txt” to your DIGISTOR sales representative. They will return a permanent license file in 3-5 days that’s keyed to your system configuration.
Complete the License Upgrade
1. Copy the license file you received from your DIGISTOR sales representative onto a USB thumb drive formatted as FAT32.
2. Insert the thumb drive into the computer with the SSD installed in it.
3. If you haven’t already, log into the Management Console. See “First Time Login” above for instructions.
4. Navigate to Maintenance > License Upgrade, and click on the Upgrade license tab.
5. Select the thumb drive where the license file is stored from the Device Name field.
6. Click the Choose File button and find the license file. Select it and click Open.
NoteSometimes the “Open” dialog box will display the root of the computer system instead of the contents of the thumb drive. If this happens to you, open the /mnt folder and then open the folder inside corresponding to the thumb drive to find its contents.
7. Click the Upgrade License button.
8. A dialog box will pop up. Enter your password and click Continue.
The license will be updated. For changes to take effect, log out and log back in again.
Product Support
Your investment in DIGISTOR products is backed up by our free technical support for the lifetime of the product. Contact us through our website, digistor.com/support, or call us at 1-408-796-5140.