You will need:
- A Blu-ray burner
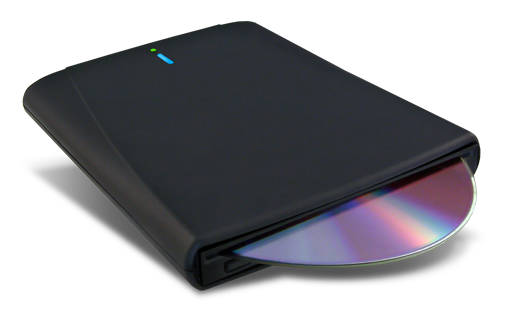
- DIGISTOR offers a great slim sized external Blu-ray burners for ease of installation, and portability. One Blu-ray burner can be transferred to all the PC’s and Mac’s in your house!
- Blu-ray recordable discs
- We offer 25GB BD-R/RE, 50GB BD-R/RE, and even 100GB BDXL Blu-ray recordable discs. The DIGISTOR Media is high quality HTL type and incredibly affordable.
- Archiving Software

- This is where REWIND™ comes in. We’ll be going over the 3 easy steps to creating a perfect personal archive with REWIND™. You don’t have to use DIGISTOR brand Blu-ray burners and Blu-ray media with REWIND though. If you already own a Blu-ray burner, we will be offering REWIND™ as retail software next month.
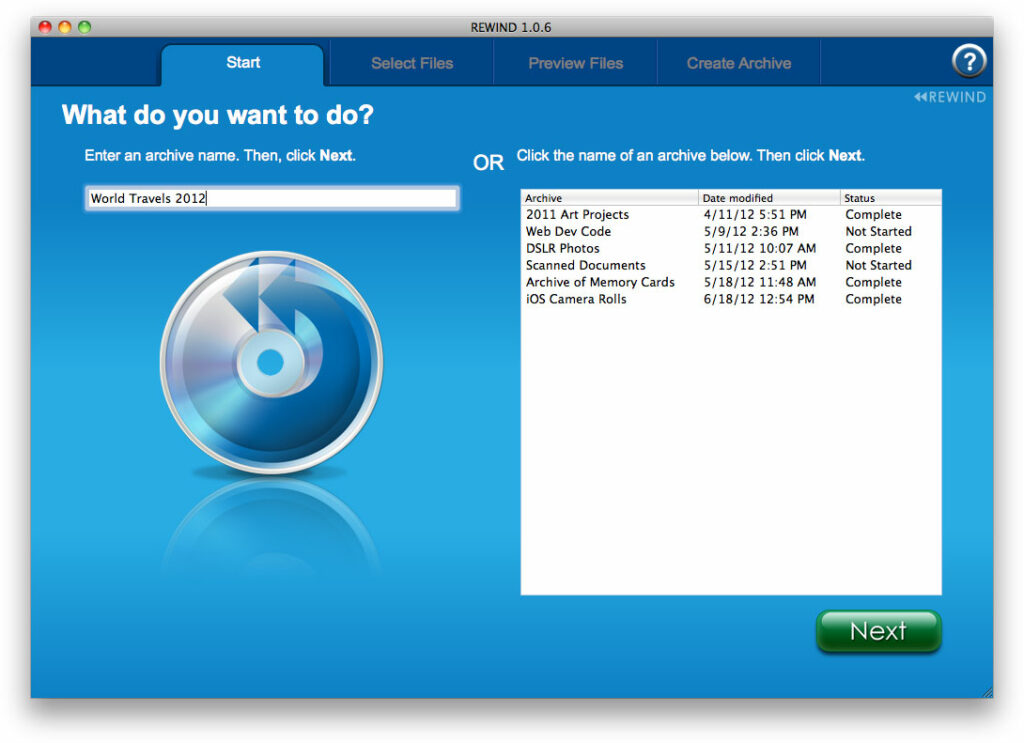
Step 1: Give your Archive a Name
Yes, we said this would be amazingly easy. A full step dedicated to giving your archive a name. REWIND™ can continue to span discs once the Blu-ray is full. You don’t have to limit your archives to just one specific group of photos like “Our Vacation to Hawaii”. You can broaden out your archive and save every byte of your photo albums and start an archive called “World Travels 2012”. Some other examples might be “Entire Music Archive” or “Scanned Documents”.
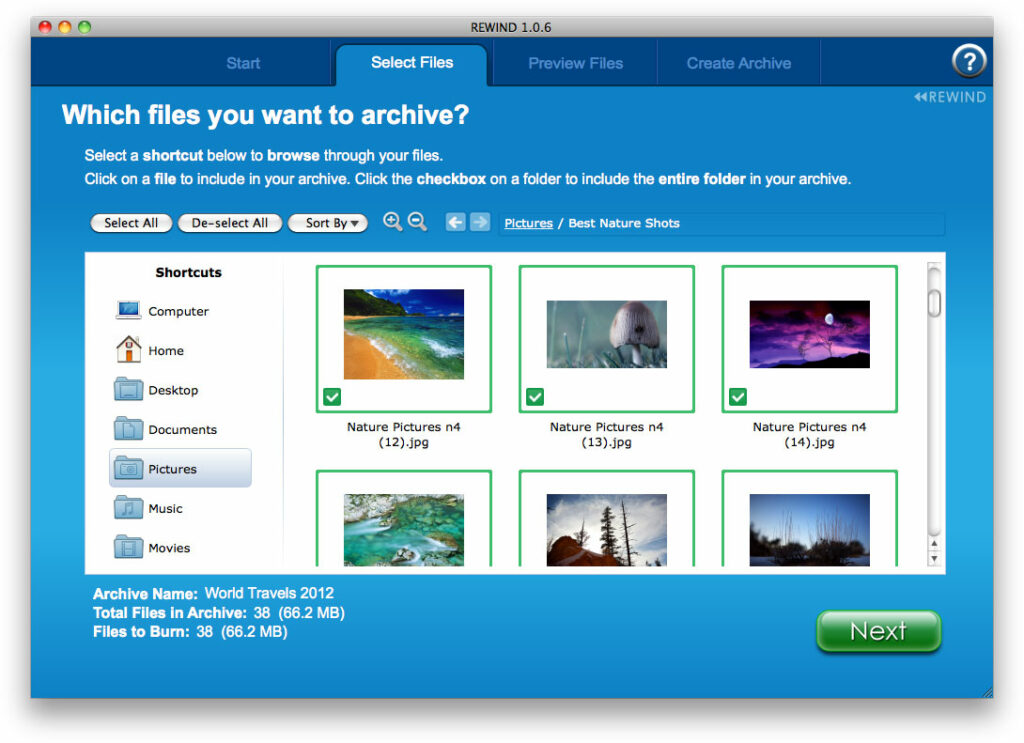
Step 2: Select Your Files
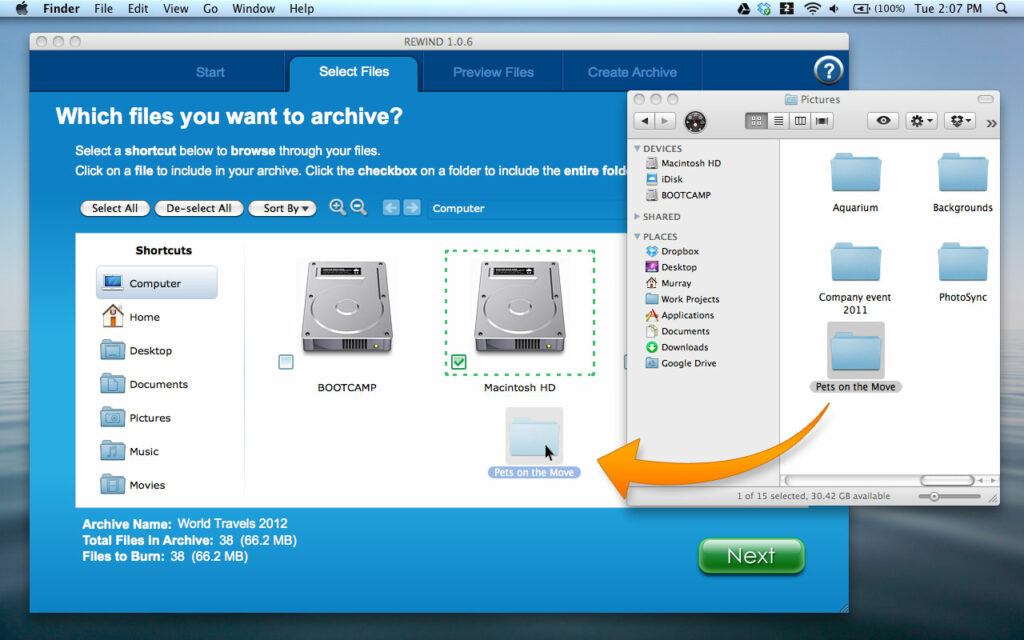
REWIND™ has a great file browser for maneuvering your computer and selecting files to archive. The thumbnail view makes it a breeze to view a large icon or thumbnail views of photos. Easily select a file or folder by choosing the checkbox next to it. You can click ‘n drag to select multiple items at once. For large archives, the select all button works really well. Visit the Pictures shortcut on the left, hit “Select All” and bam, you have all your photos selected for archiving.
An additional easy to use feature for selecting files and folders is the drag ‘n drop ability to add files and folders to the archive by choosing them from your regular PC or Mac file system and just dragging the files or folders on top of the REWIND™ Select Files window. The files and folders are now automatically selected in REWIND™.
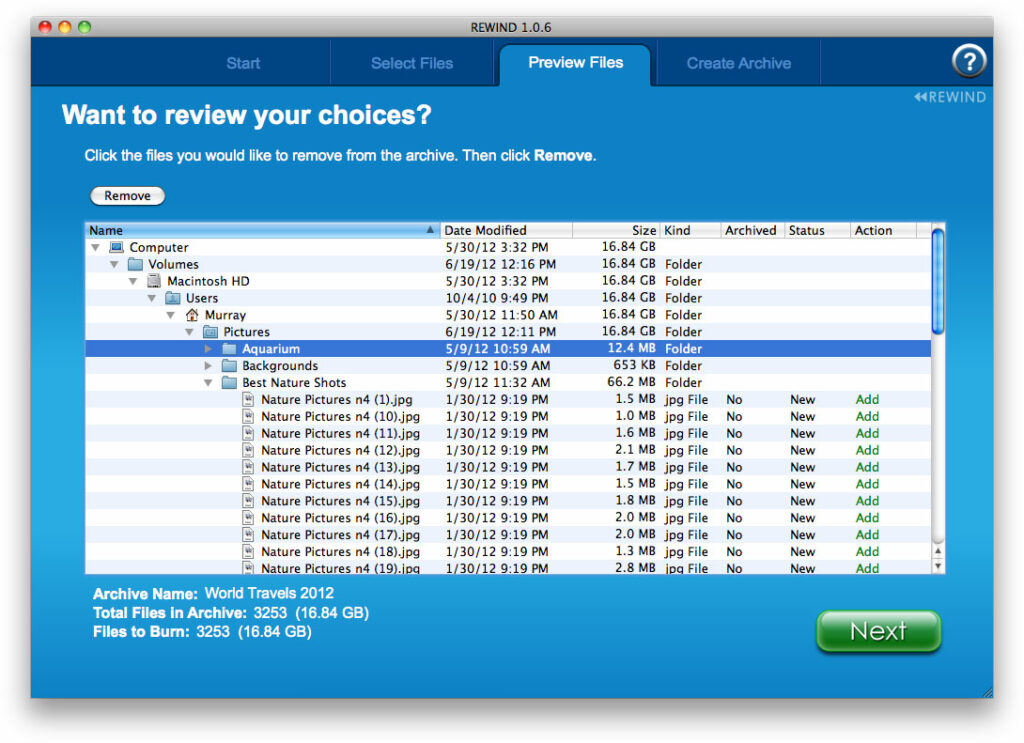
Step 2b: Review your choices in the Preview Files Tab
Not really a full step in itself, REWIND™ gives you a list view to review your choices and make any final decisions to remove a file or folder.
Step 3: Create Your Archive
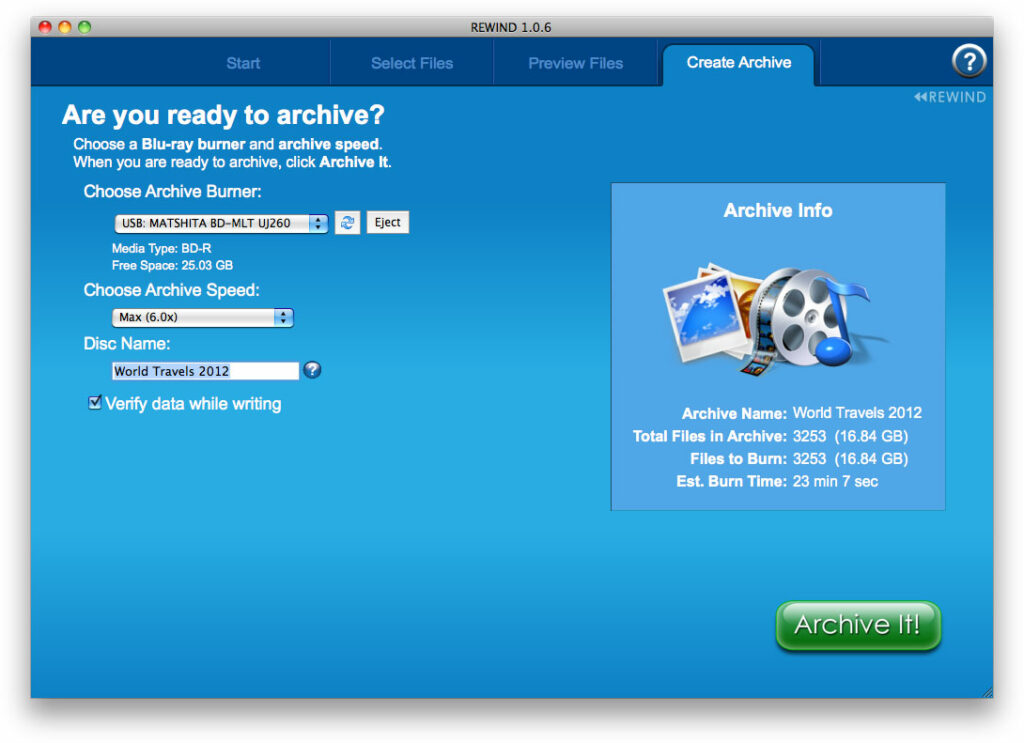
Yes, step 3 is nearly as simple as Step 1! All the settings are already chosen for you, but we’ll review them here anyway. If you’re using an External DIGISTOR Blu-ray burner, make sure it is plugged in, switched ON, and loaded with your favorite brand of BD-R or BD-RE media. The Choose Archive Burner dropdown only shows Blu-ray drives which means your burner should automatically be selected.
Select your archive speed from the second drop down. REWIND™ also does this for you by automatically selecting the maximum speed the drive and media can burn together.
REWIND™ gives your disc a name, but you have the chance to change that on this step as well. The disc name will have an appended disc number after it has been burned.
REWIND™ can verify the data while writing to the disc. This is checked ON by default, so you can have peace of mind that your data was verified as it was written to the disc. This does lengthen the overall burn time, but for important long term archives it’s worth the wait.
Click Archive it!
That’s it! You’ve archived your favorite documents, pictures, music, or all of the above!
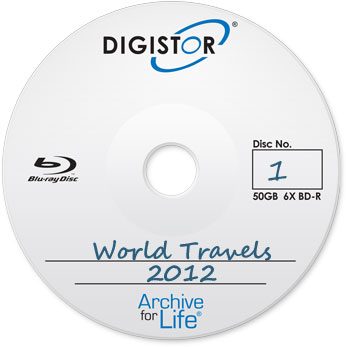
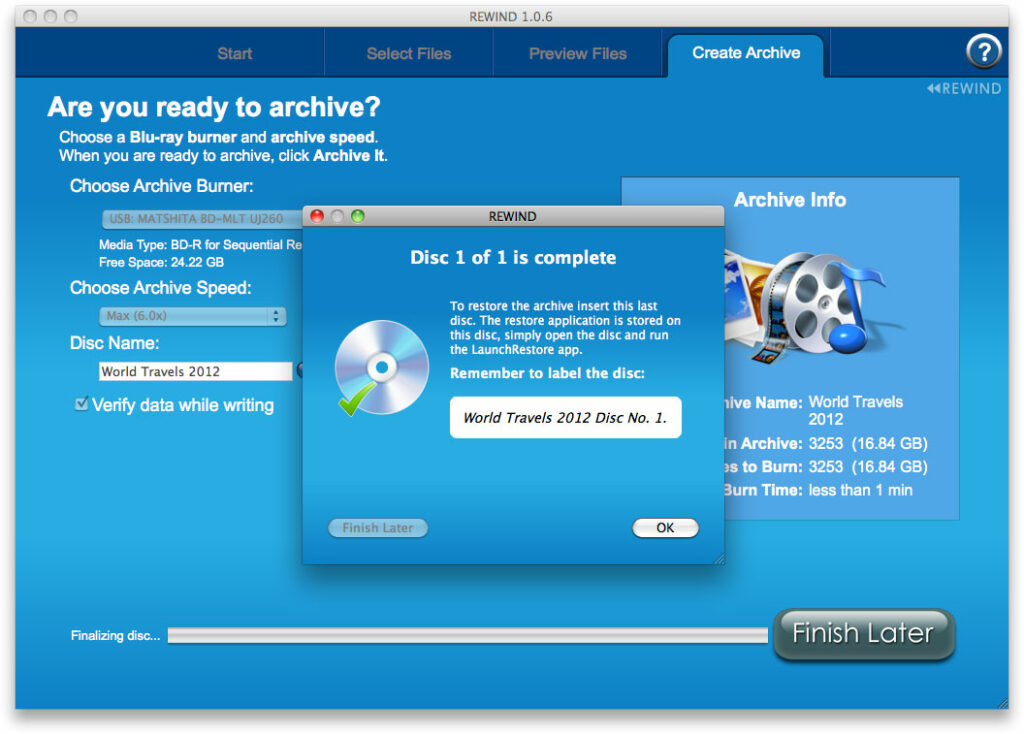
Remember to write the name of your archive and what disc number it is so you can have a pleasant restore process if needed in the future.

Recent Comments